A rattan pendant light is the perfect interior piece to upgrade your living space. However, in addition to buying one from the store, you can also make it yourself at home. Below is a simple, easy-to-understand, and effective guide on how to make a rattan pendant light. By following these steps, you’ll be able to create a light that reflects your style.
Before learning how to make a rattan pendant light, make sure you have all the necessary materials prepared.
This table breaks down the essential materials for creating a wireless rattan pendant light, making it easier to understand and follow the instructions.
| Ingredient | Details |
| Rattan Basket | 30cm diameter, base for pendant light |
| Cotton Rope | 100% natural, 5mm thickness, for hanging |
| LED Puck Lights | LED lights with remote control for lighting |
| Installation Kit | Includes mounting plate for secure setup |
| Industrial Adhesive Gun | 150-200W power for bonding materials |
| Utility Knife | Stainless steel, for cutting rope or rattan |
| Mounting Tray | 25cm diameter, holds the light structure |
| Wall Anchors | 8mm with screws for securing to the wall |
| Metal Washers | 10mm diameter, used for added stability |
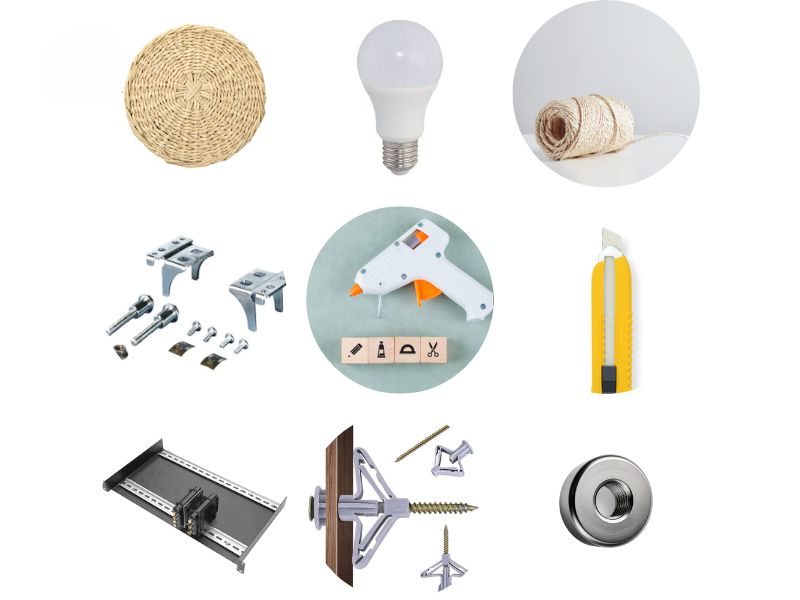
Before diving into the guide on how to make rattan pendant lights, you need to prepare all the necessary materials
Here’s a simple and effective guide on how to make a rattan pendant light.
Step 1: Prepare the Rope
Cut three pieces of cotton rope, each about 5 1/2 feet long. Knot one end of all three ropes together, creating a strong base to attach the light fixture later. Set the knotted end aside.

Prepare the Rope
Step 2: Create a Hole in the Basket
Use a utility knife to cut a hole in the center of the rattan basket. The hole should be big enough to fit the rope. Thread the non-knotted end of the rope through the hole, and secure the edges with tape to prevent fraying. Pull the rope until the knot rests below the hole.

Create a Hole in the Basket
Step 3: Attach the Puck Light
Apply hot glue to the knotted end of the rope and attach it to the puck light’s battery cover. Make sure it’s secure but still removable for easy battery replacement. Pull the rope up through the top of the basket for a clean, finished look.
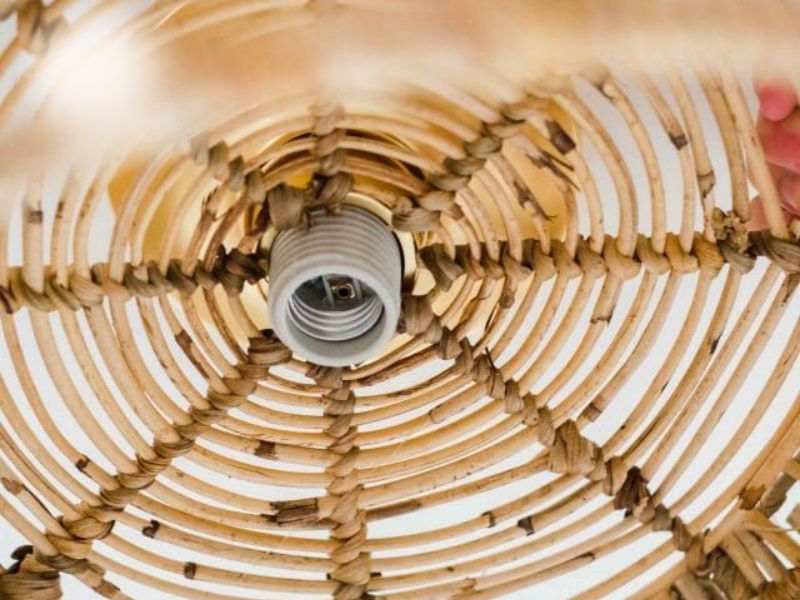
Attach the Puck Light
Step 4: Test the Light and Optional Painting
Turn on the puck light to check its functionality. If you’d like to add a unique touch, you can spray paint the rattan basket with a metallic color like aged brass or soft gold for a warm glow that fits any style.
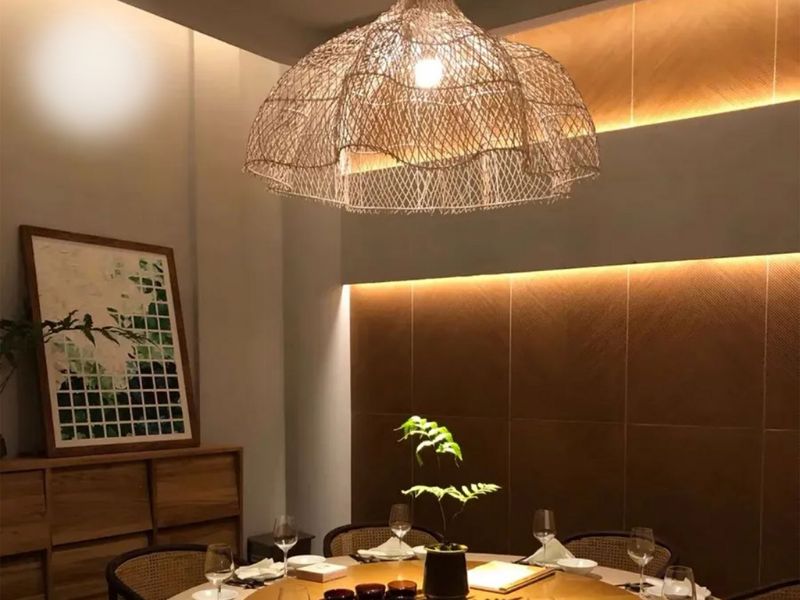
Test the Light and Optional Painting
Step 5: Install the Pendant Light
Thread the three rope strands through a mounting plate’s center hole. Adjust the length as desired, trimming any excess rope for a tidy appearance. Mount the plate securely to the ceiling with screws and drywall anchors, adding washers to prevent the rope from slipping through.
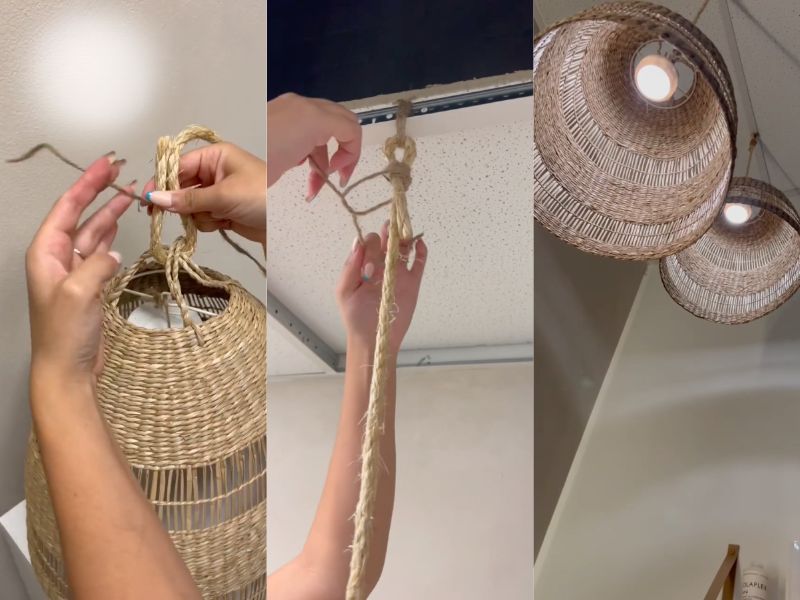
Install the Pendant Light
Step 6: Alternative Hanging Option
For a simpler hanging method, you can screw a ceiling hook into place, tie the ropes together, and hang the knot directly from the hook. This method gives your space a relaxed, boho feel.
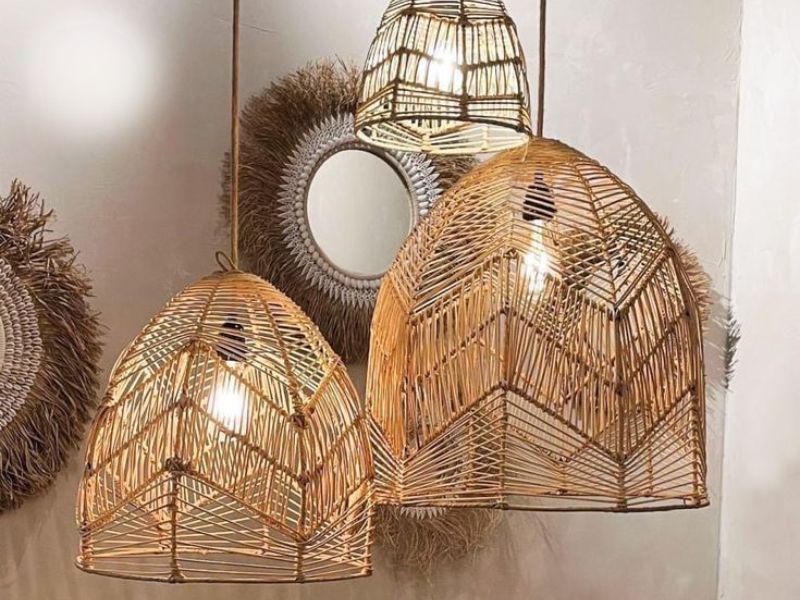
Alternative Hanging Option
See other:
Before knowing how to make a rattan pendant light you need to prepare the following information:
| Component | Details |
| Rattan Basket | Diameter: 35cm, Center-Bottom Weave Pattern |
| Light Kit | E26/E27 Mount, Voltage: 90V-260V |
| LED Globe Bulb | Power: 15W, Color Temperature: 3000K (Warm White) |
| Installation Hardware | Professional-grade mounting equipment |
| Safety Mounting Equipment | Includes all necessary safety fixtures |
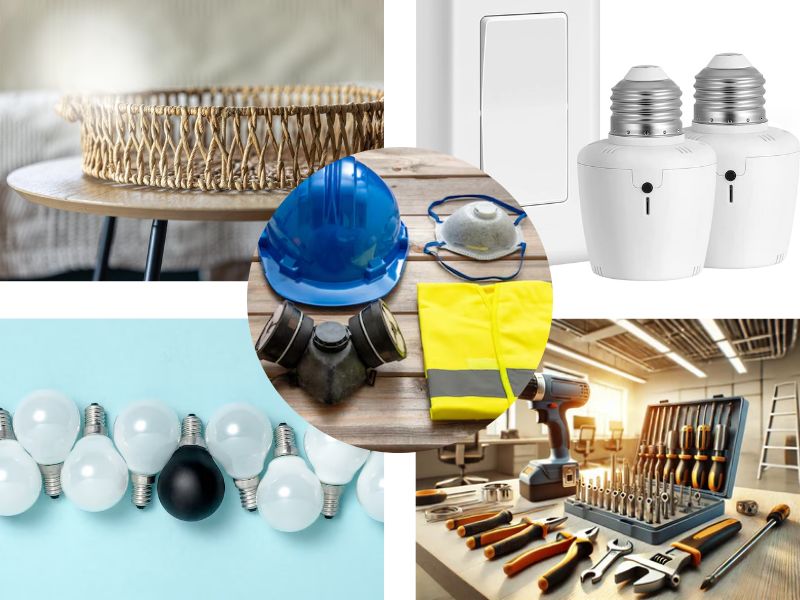
How to make a rattan pendant light
Creating your rattan pendant light is a fun and simple project that can add a warm, natural vibe to any room. Here’s a quick, easy-to-follow guide on how to make a rattan pendant light to help you get started:
Step 1: Choose the Right Rattan Basket
Pick a rattan basket with a well-defined center at the bottom. Make sure it’s free of handles or any obstructions, so it can sit securely.
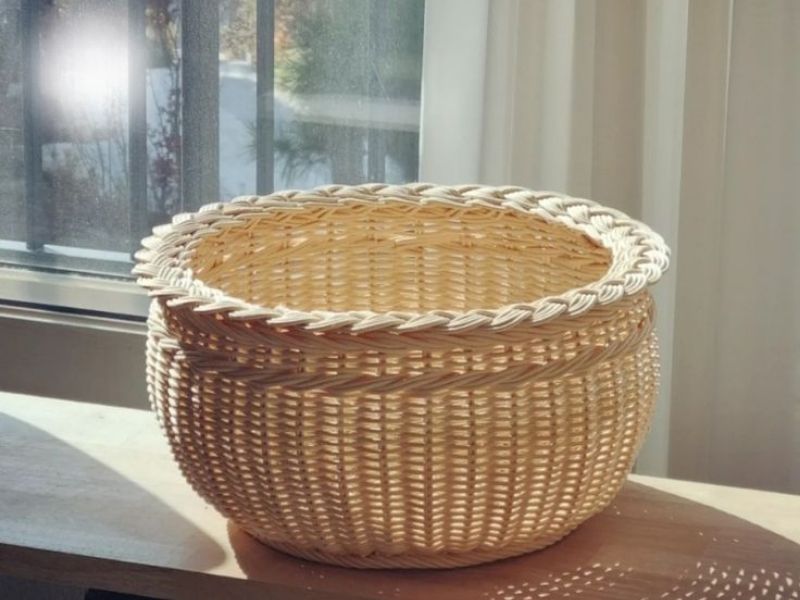
Choose the Right Rattan Basket
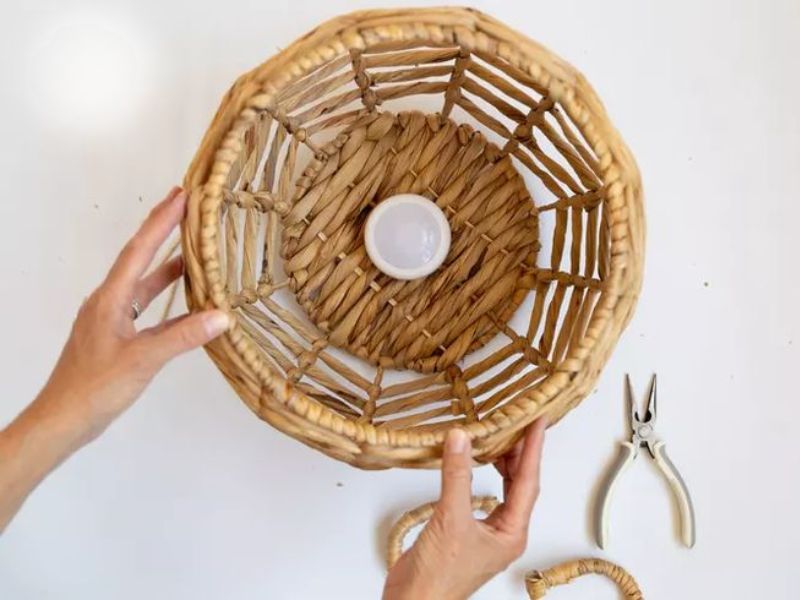
Step 2: Make a Hole in the Basket
Use cutting pliers to create a hole in the bottom of the basket. The hole should be big enough for the light socket to fit through but slightly smaller than the shade ring to hold the basket in place.
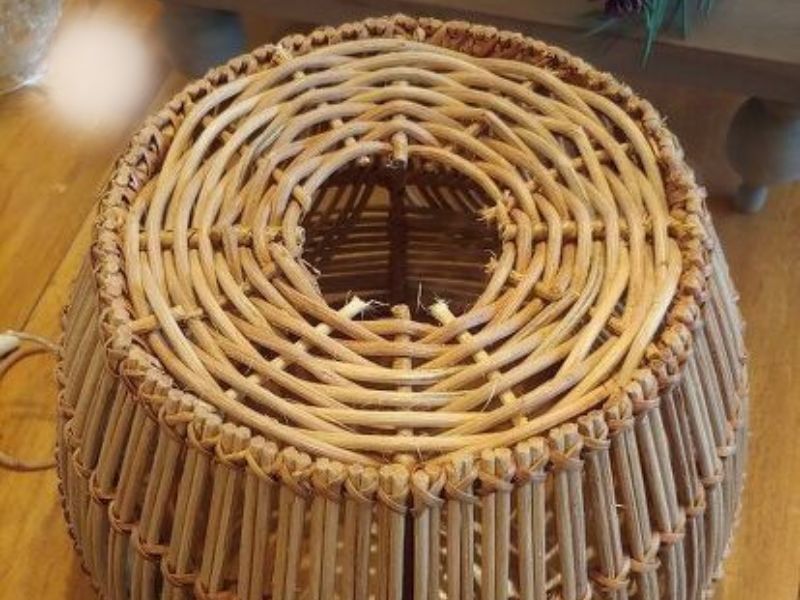
Make a Hole in the Basket
Step 3: Mount the Basket
Slide the basket over the light socket until it reaches the base. Then, attach the shade ring to the socket to keep the basket secure, with the socket supporting the weight.
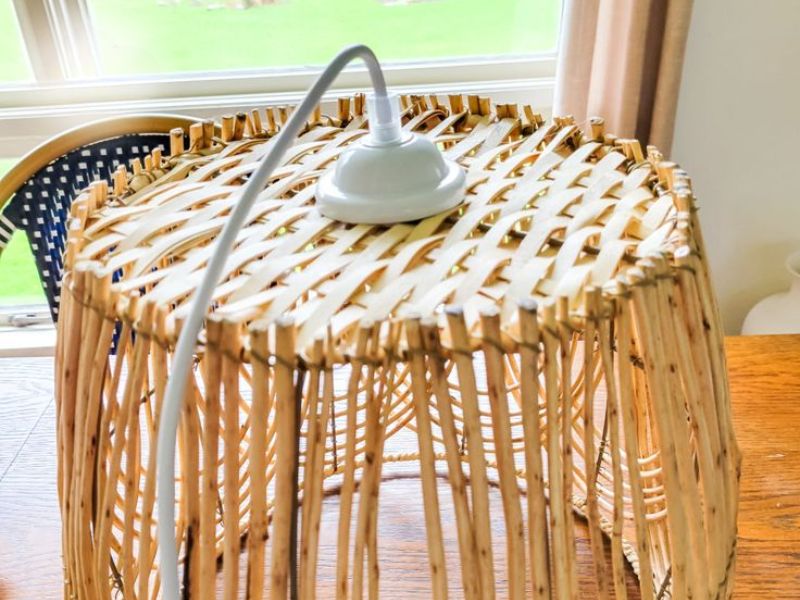
Mount the Basket
Step 4: Insert the Light Bulb
Once the basket is firmly in place, add a decorative light bulb. A round bulb works great to give off a soft, warm glow.
Insert the Light Bulb
Step 5: Test the Light & Optional Touch-ups
Turn on the light to make sure everything is working properly. For a little extra style, you can spray paint the rattan with a touch of aged brass or muted gold for a chic, inviting look.
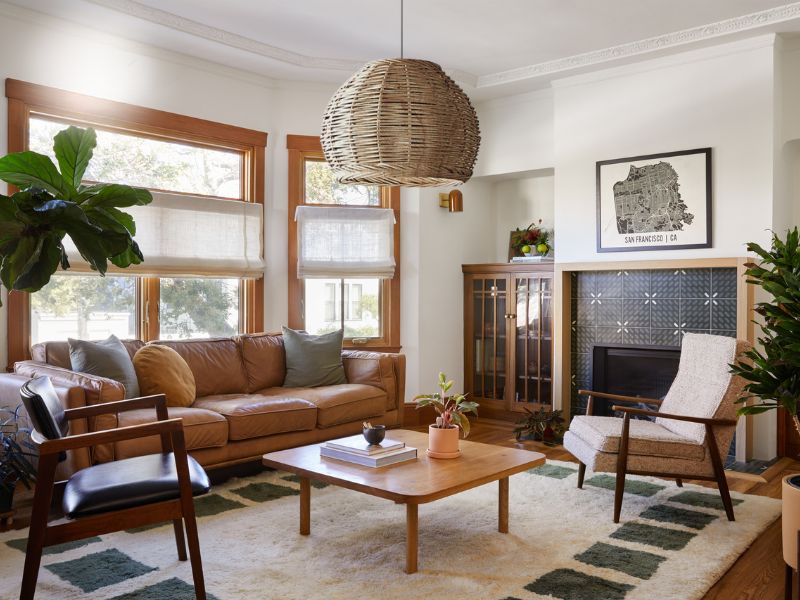
Test the Light & Optional Touch-ups
When learning how to make a rattan pendant light at home, there are several important considerations to ensure both safety and aesthetic quality. Here are some key tips to keep in mind:
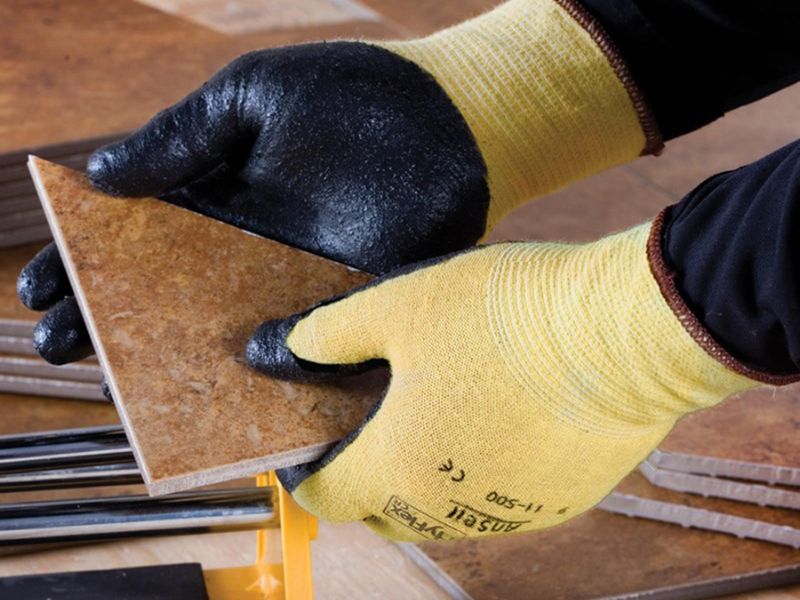
Always wear gloves to protect your hands from cuts or splinters when working with rattan or other materials
How long does it take to make a rattan pendant light from start to finish?
The time it takes to create a rattan pendant light can vary depending on your skill level and the complexity of the design. On average, it may take anywhere from 4 to 8 hours for a basic design, including preparation, assembly, and wiring.
Which types of rattan are best for making a pendant light?
The best types of rattan for making a pendant light are flexible, durable varieties such as natural rattan or peeled rattan. These offer a balance of strength, flexibility for weaving, and a beautiful, rustic finish.
What common mistakes should be avoided when making a rattan pendant light?
Common mistakes to avoid include using overly brittle or weak rattan, improper wiring techniques, not securing the light properly to the ceiling, and choosing a bulb that is too hot, which can cause damage to the rattan. Always ensure all electrical components are tested before assembly.
How to choose the right size and shape of a rattan pendant light based on room size?
When choosing a rattan pendant light, consider the size of the room and the space above your dining table or seating area. A general rule is that the diameter of the light should be 1/3 to 1/2 the width of the table. For smaller rooms, opt for a compact design, while larger rooms can handle bigger pendant lights. The shape should complement the room’s overall style and layout.
The article above has provided you with a simple, easy-to-follow guide on how to make a rattan pendant light at home. Additionally, with the helpful tips we’ve shared, we hope you can unleash your creativity and craft a unique pendant light that perfectly suits your style and space.
Van Tuong Global offers a unique collection of handwoven rattan, bamboo, and straw products, including stylish home decor, kitchenware, bags, lighting, and pet supplies crafted with sustainable, artisanal care.
WhatsApp: +84355996381
Email: [email protected]
Address: Number 23, Block B, Alley 1, Dong Me, Me Tri, Nam Tu Liem, Hanoi
© VanTuongGlobal. All Rights Reserved.